
Are you struggling to know the greatest digital camera settings for wildlife images? Do you wish to get superb wildlife photographs, however you’re simply undecided learn how to cope with your digital camera gear?
You’ve come to the proper place.

As a result of this text will inform you the whole lot, it’s good to find out about wildlife images digital camera settings. You’ll uncover the very best digital camera modes, in addition to a number of extremely sensible suggestions for wildlife images settings.
Let’s get began.
Digital camera Settings For Wildlife Images
- Use Shutter Precedence when capturing fast-moving objects (birds)
- Use Aperture Precedence when coping with rapidly altering gentle
- Use Guide mode while you need full management
- Select a shutter velocity that may freeze your topic’s motion
- Select an aperture that may hold your total topic sharp, if doable
- Compromise on aperture or ISO when in low-light conditions
- Use your steady capturing mode to catch the proper second
- Use Steady AF when capturing shifting wildlife
- Use Dynamic AF when monitoring lively animals
Digital camera Modes Utilized in Wildlife
Images
When you’re trying to grasp wildlife
images settings, you then’ll wish to begin by selecting the suitable
digital camera mode.
In lots of genres of images, Aperture Precedence is by far the most well-liked capturing mode. For example, journey photographers and panorama photographers love Aperture Precedence, as a result of it offers them management over the aperture whereas leaving the digital camera to decide on a shutter velocity.
However in wildlife images, shutter velocity is essential – so Aperture Precedence isn’t proper for each state of affairs. Wildlife photographers do use Aperture Precedence mode at occasions, however in addition they use Guide mode. And a few wildlife photographers use Shutter Precedence mode, which has its makes use of, even when the mode is much less well-liked.
So when do you have to use every of those digital camera modes?
Aperture Precedence Mode
First, you must use Aperture Precedence while you’re coping with rapidly altering gentle and also you don’t wish to spend time fidgeting with digital camera settings. Aperture Precedence will allow you to dial in an aperture, and your digital camera will select a shutter velocity that guarantees an excellent publicity end result.
For example, when you’re capturing birds which might be shifting out and in of a shaded setting, Aperture Precedence is the best way to go. Aperture Precedence can also be good while you’re photographing birds late within the day and the solar is dropping quickly as a result of it prevents you from having to concentrate on adjusting your shutter velocity to account for the altering gentle.
See additionally: Selecting Proper Aperture for Panorama Images
As an alternative, you’ll be able to concentrate on capturing stunning
fowl images.
Aperture Precedence is very good in conditions the place the sunshine is robust and the shutter velocity is extraordinarily quick. When the sunshine is decrease (e.g., on a cloudy day), you’ll be able to increase the ISO to power a quicker shutter velocity, although it might be higher to place the digital camera in Guide mode as an alternative.
Talking of which:
Guide Mode
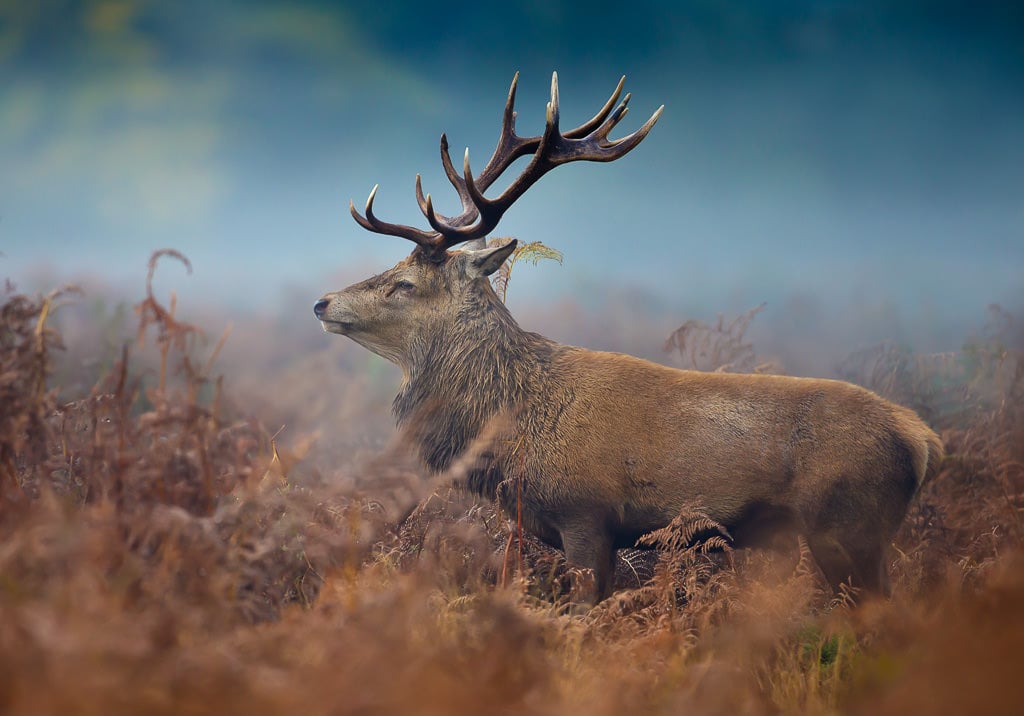
Guide mode is greatest while you need full management over your digital camera settings. For example, when you’re aiming to seize extra artistic photographs – comparable to creative blurs of birds flying previous – Guide mode is an effective possibility. Guide mode can also be nice for low-light conditions when it’s a must to make troublesome selections between ISO, shutter velocity, and aperture. When you’re capturing deer at nightfall, you should utilize Guide mode to fastidiously select the widest aperture and longest shutter velocity you’ll be able to afford, guaranteeing sharp deer photographs.
In different phrases:
Guide mode will enable you essentially the most
flexibility so as to make the absolute best alternative.
Shutter Precedence Mode
Shutter Precedence, however, offers you management over your shutter velocity – although your digital camera will select the corresponding aperture. Personally, I exploit this mode least, however there are occasions when it may be useful.
See additionally: Should-have Wildlife Images Tools
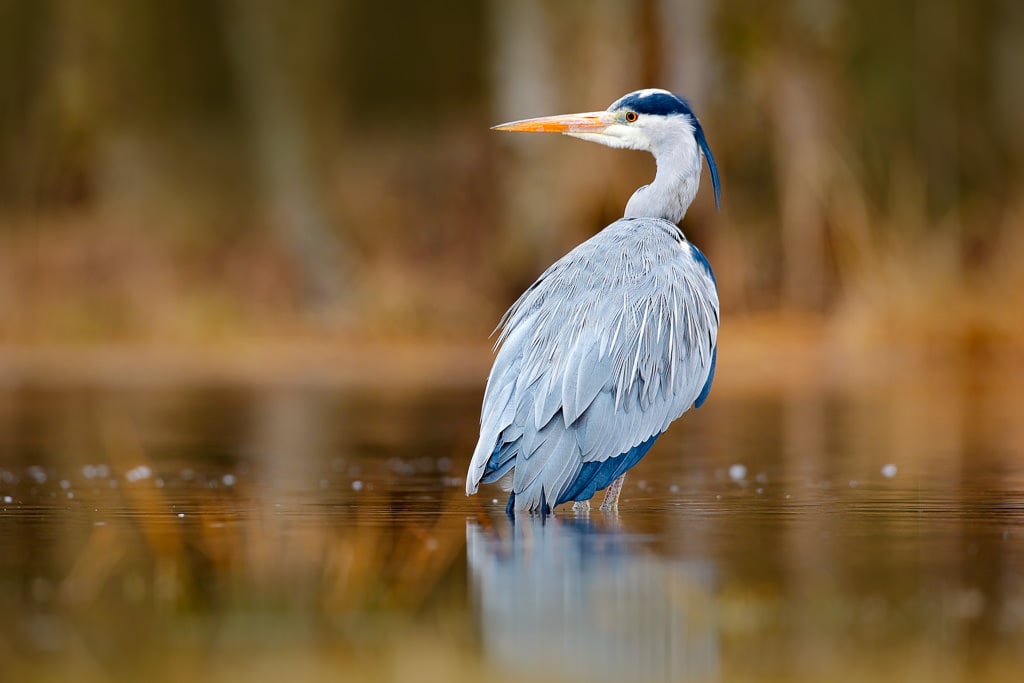
For example, when you’re capturing an lively fowl and you understand that you just want a specific shutter velocity to maintain it sharp (1/2000s for a heron in flight, as an example), you’ll be able to dial within the actual shutter velocity and let your digital camera do the remainder.

Make sense?
So whereas there’s nobody greatest digital camera mode for
wildlife images, there are actually conditions the place one mode is smart
over the others.
Digital camera Settings and Strategies to
Get the Proper Publicity
Now that you know the way to decide on the right digital camera mode, it’s time to get into the main points of wildlife digital camera settings.
See additionally: Nature & Wildlife Images Tutorials
Before everything, capturing stunning wildlife images is about getting clear, crisp photographs. And this may’t occur when you don’t hold issues wanting sharp.
Shutter Velocity Settings
To realize excellent sharpness, you’ll usually have to shoot at 1/1000s or increased for shifting animals (increased is best!). Birds in flight can require 1/2000s shutter speeds and even 1/4000s.
In different phrases, wildlife images requires quick shutter speeds. And these shutter speeds will decide your alternative of publicity settings.
See additionally: Chook Images on a Funds
Certain, when you’re photographing a sleeping animal you gained’t want to spice up your shutter velocity. However you’ll discover that wildlife is never cooperative and that it’s a must to be ready for issues to vary, quick.
You also needs to be ready to shoot in bursts, along with your digital camera set to its steady capturing mode. Wildlife photographers usually shoot in lengthy bursts, and don’t cease till the motion is over; that is how they handle to get once-in-a-lifetime images!
Aperture Settings
Now, whereas aperture is much less necessary in wildlife
images than different images genres, it nonetheless issues. Usually, you
wish to hold your entire animal sharp, from entrance to again. You don’t wish to finish
up with a pointy head however a blurry again, as an example. Or the entrance two legs
sharp and the again two legs blurry.
This usually requires an aperture of no less than f/6.3, however f/7.1 or f/8 is safer.
Now, wildlife images usually entails pure gentle, and pure gentle is hardly cooperative. Which means that to get the proper publicity, you’ll usually need to compromise between quick shutter velocity, enough depth of subject, and a low ISO.
I like to recommend you concentrate on the shutter velocity first. In case your shot is blurry, then it ought to be rejected – so the shutter velocity is of utmost significance. Then you’ll be able to resolve whether or not you wish to deepen the depth of subject or hold noise ranges down.
See additionally: Wildlife Images Tools for Inexperienced persons
(And lots will rely in your digital camera for wildlife images. New cameras with the very best sensors carry out nicely in low gentle, so you could not need to compromise in any respect!)
Digital camera Settings and Focusing
Strategies
Whereas an enormous a part of good wildlife images is about selecting the best aperture, shutter velocity, and ISO…
…you’ve additionally acquired to grasp focusing.
Wildlife hardly ever stays nonetheless, which implies that you will need to monitor critters with a protracted lens – which is hardly a straightforward process!
Now, there are just a few digital camera settings that you just
ought to completely be utilizing for focusing in wildlife images:
Steady Autofocus
First, you must have your autofocus mode set to Steady AF (also called AI-Servo on Canon). This AF mode will hold your wildlife lens centered in your topic, even when the topic strikes after you press the shutter button.
The exception is in conditions the place your topic is stationary; AF-S (One-shot AF) is an effective alternative.
Dynamic Autofocus Mode
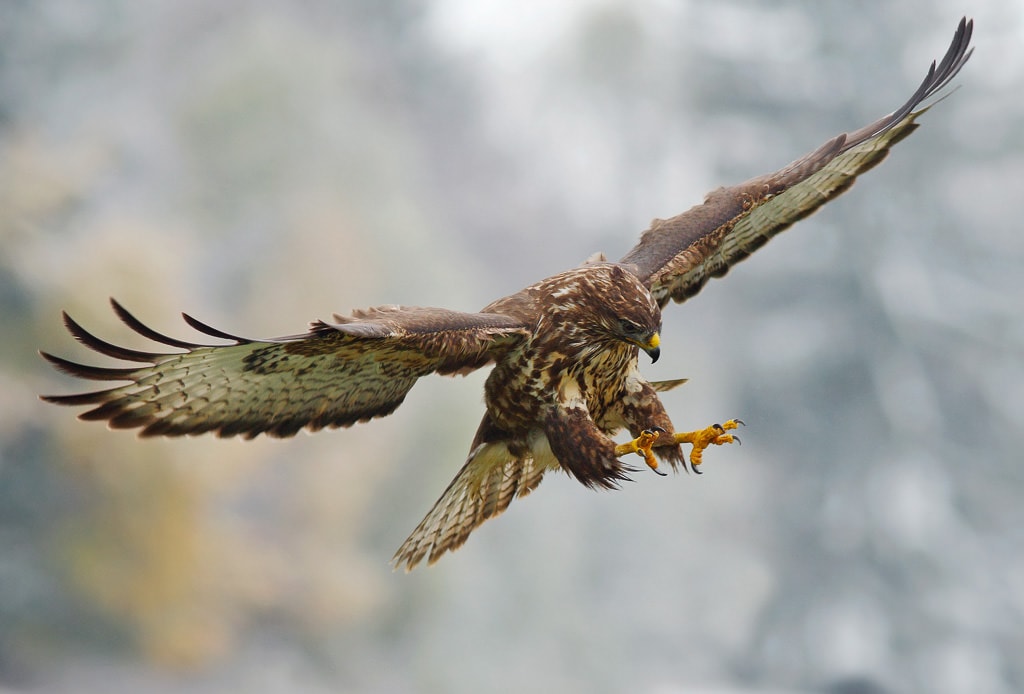
Second, when capturing lively wildlife, you must have your digital camera space mode set to Dynamic AF, which is able to guarantee your digital camera tracks the topic as you comply with it. With out Dynamic AF, you’ll wrestle to keep up focus in a lot of conditions: birds flying, cheetahs operating, and extra.
See additionally: Well-known Animal Photographers
In case your topic is stationary, then
Single-Level AF is okay.
Rounding Issues Up: Digital camera Settings For Wildlife Images
Now let’s take a short have a look at the whole lot
we’ve coated:
- Use Shutter Precedence when capturing fast-moving objects (birds)
- Use Aperture Precedence when coping with rapidly altering gentle
- Use Guide mode while you need full management
- Select a shutter velocity that may freeze your topic’s motion
- Select an aperture that may hold your total topic sharp, if doable
- Compromise on aperture or ISO when in low-light conditions
- Use your steady capturing mode to catch the proper second
- Use Steady AF when capturing shifting wildlife
- Use Dynamic AF when monitoring lively animals
Digital camera Settings For Wildlife Images | Conclusion
It is best to now really feel assured when going out
to shoot wildlife–as a result of you understand the exact settings you want for gorgeous
wildlife images.
So go discover some wildlife to shoot whereas maintaining these digital camera settings for wildlife images in thoughts.
And your photographs might be beautiful!